
Ghee is clarified butter. It means that the milk solids are removed from the butter fat. It is shelf stable because the water and solids have been cooked out or removed. Depending on the temperature in your kitchen, it will be solid or liquid. Ghee has a very high smoke point which means it’s difficult to burn and it won’t create dangerous free radicals as many vegetable oils will at high heat. Its short chain fatty acids are easily metabolized by the body.
An Indian kitchen is incomplete without ghee. In ayurveda it is so highly regarded that it is called the “single most ojas producing food on earth” by Maya Tiwari. Ojas is health or juiciness. It’s essential for a well-functioning immune system. When you see someone that looks really healthy, that is ojas shining through. Ghee is not only food, but is used as medicine in ayurveda. 100 year old ghee is prized for use as medicine, and is passed down from generation to generation. If one could produce an essential oil of love, it would be ghee. I think that’s a nice thought.
Ghee kindles the agni, or digestive fire, without being heating. It also helps pull toxins from the different tissues in the body and allows them to be excreted easily. Ghee is able to reach all seven tissues in a matter of days while other foods take over a month to reach the same cellular level, according to ayurveda. Ghee should be made from the highest quality unsalted butter that you can find.
You will need a heavy stainless steel, enamel or cast iron pot. Aluminum and Teflon pots should be avoided if possible. I typically make two pounds at a time. This will fill a quart-sized mason jar.
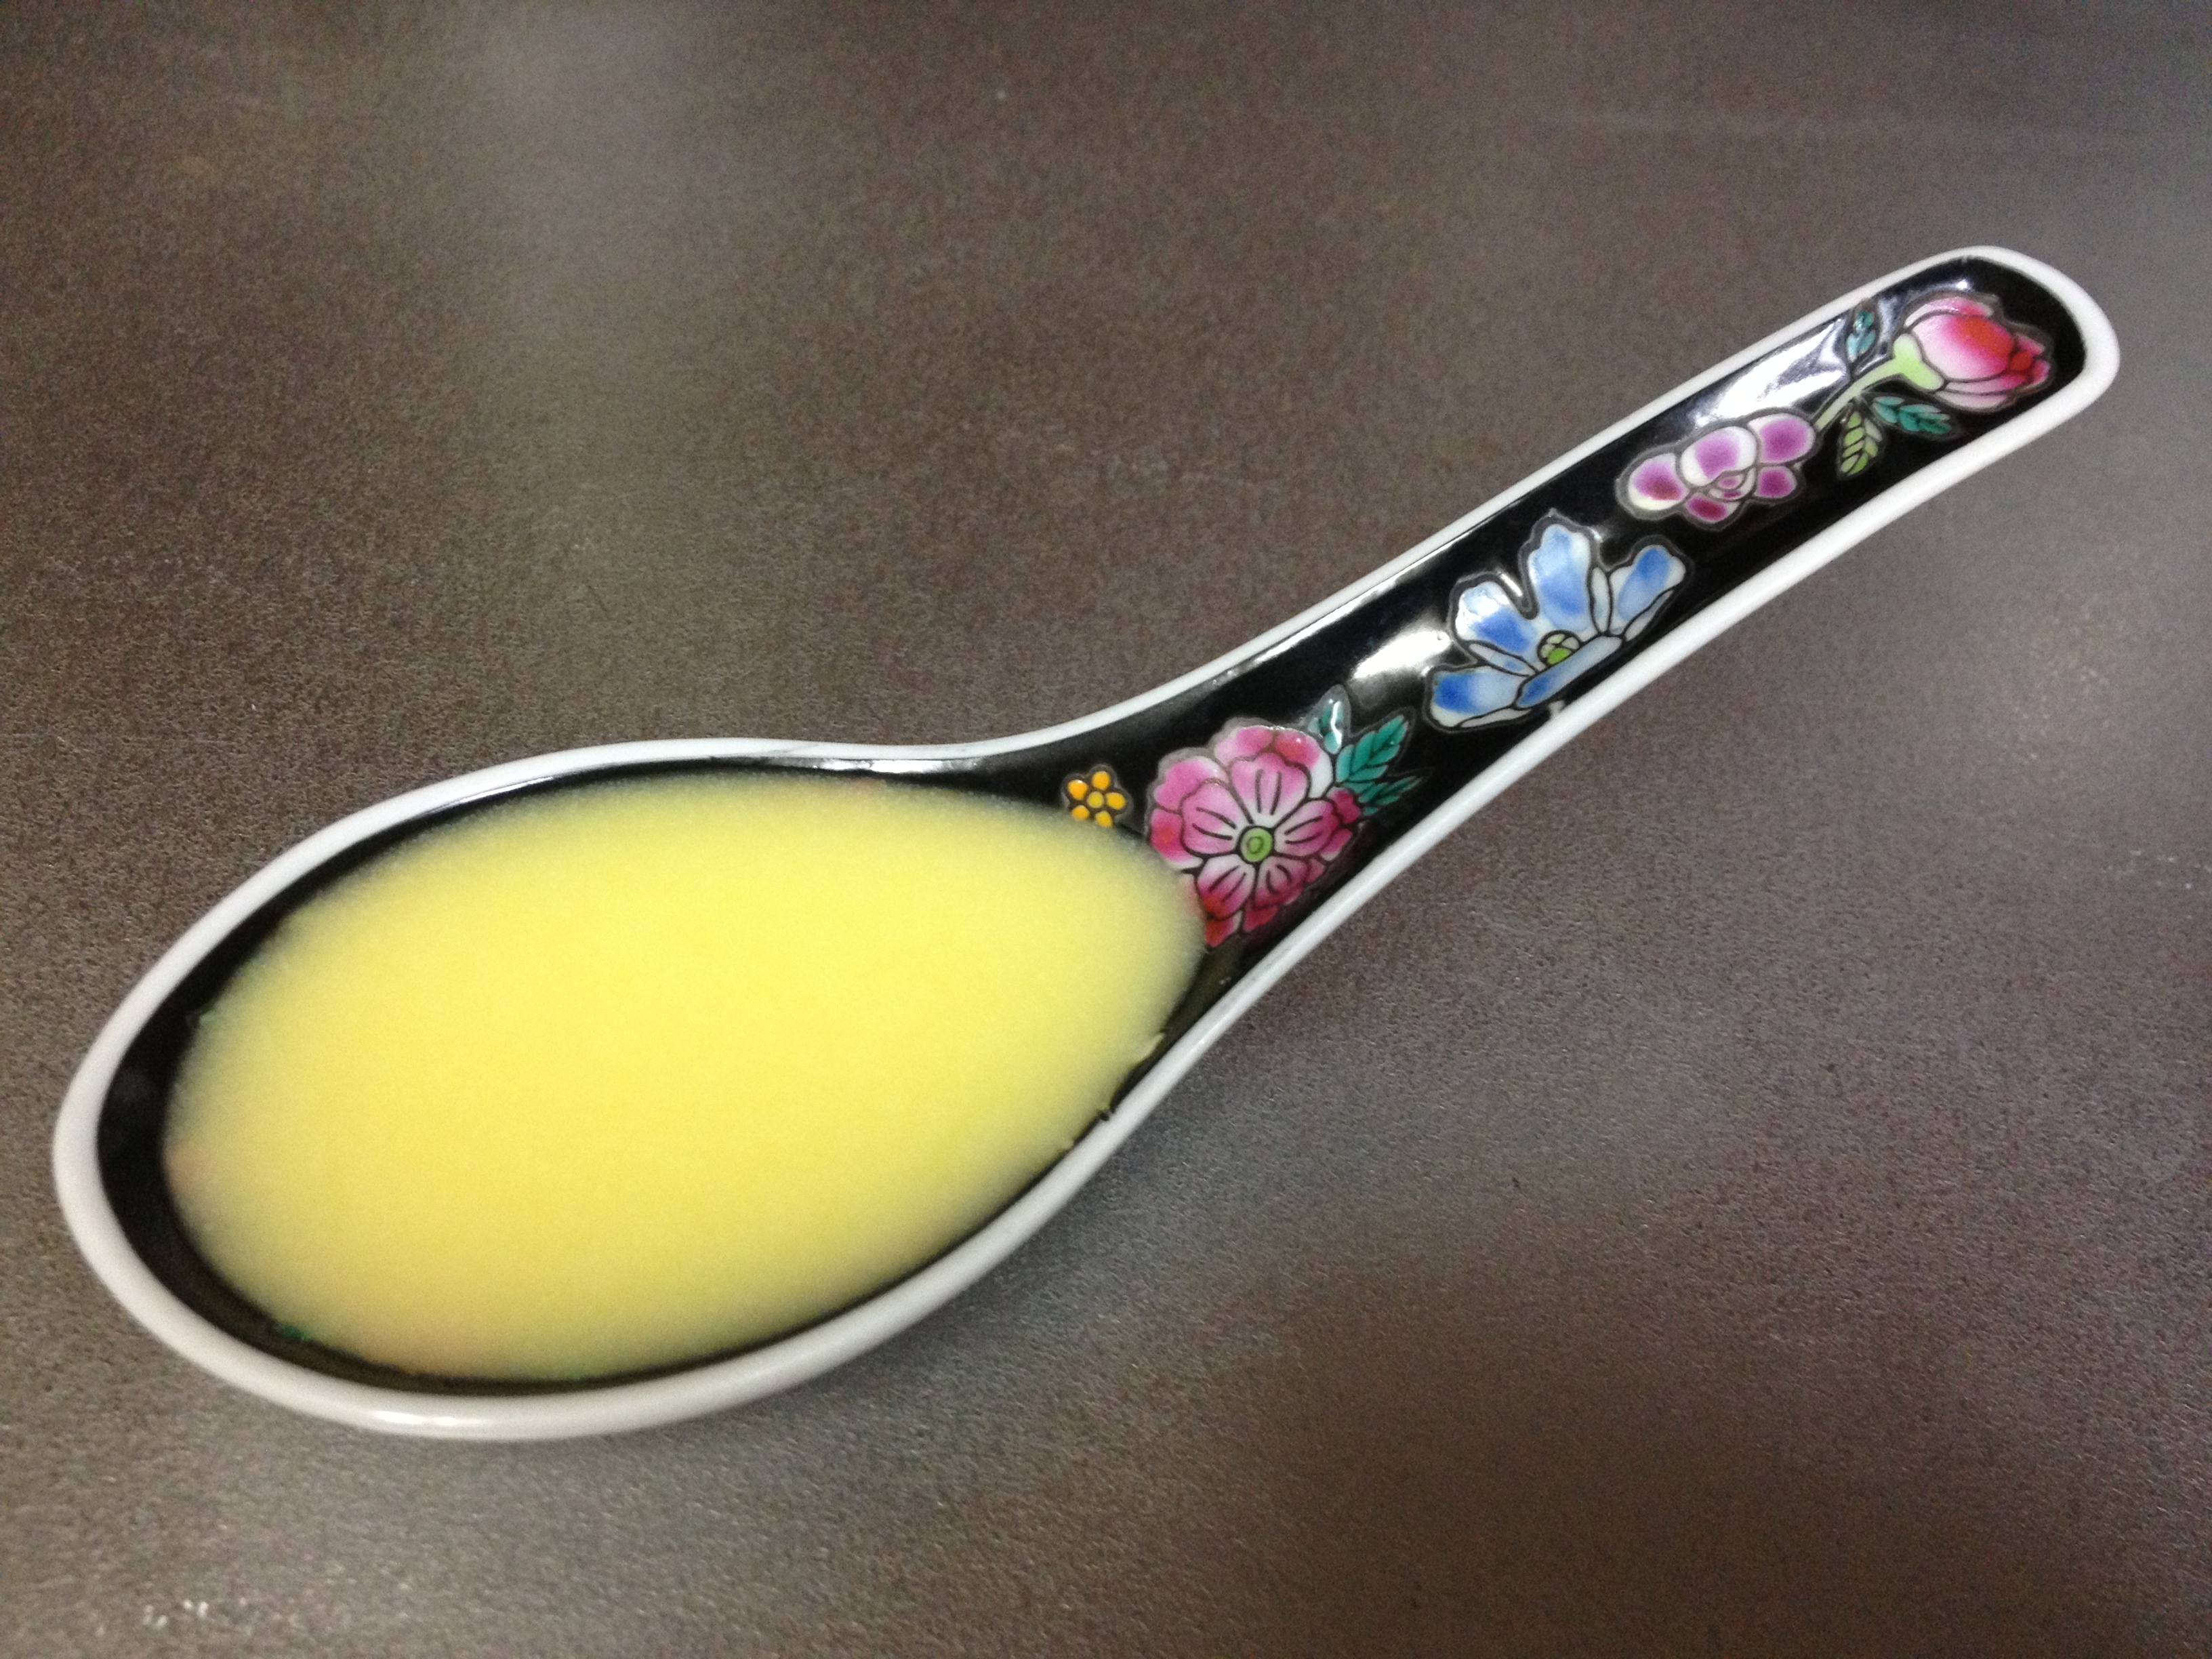
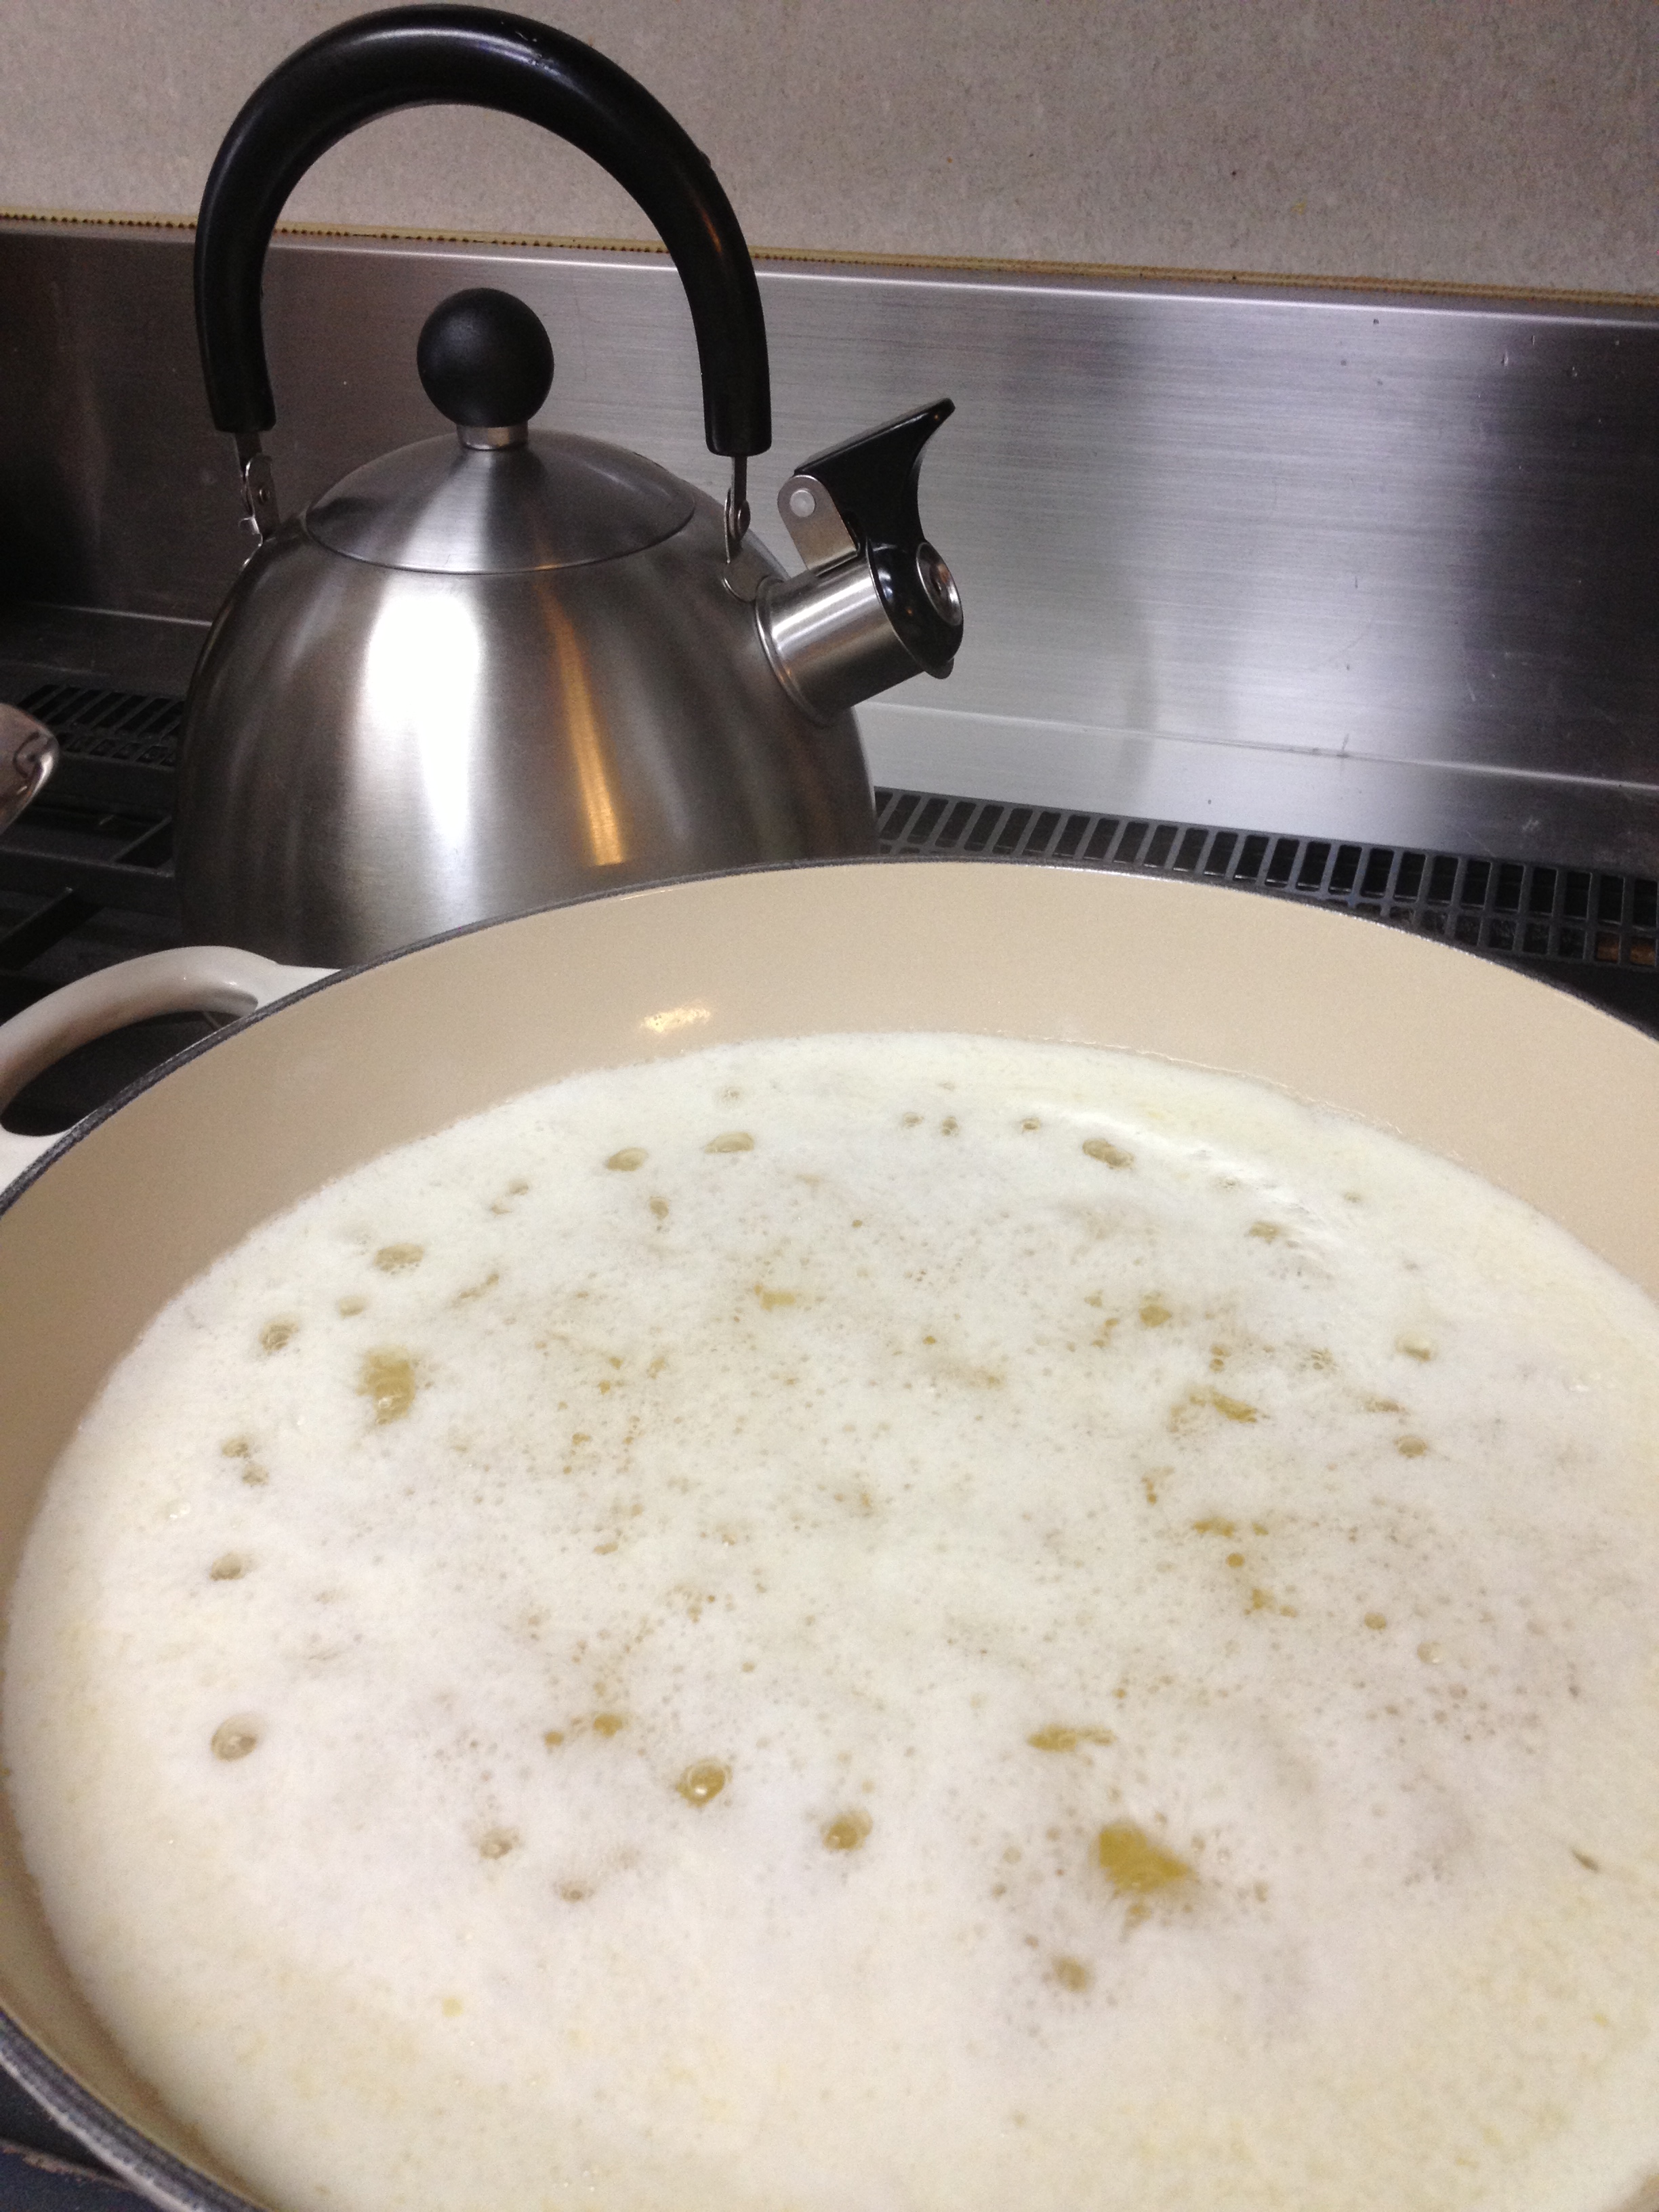 Put the butter in the pan and cook over medium heat. As the butter boils, the water will evaporate and white solids will form on the top and the bottom. The butter will change from cloudy to clear as it cooks. Do not stir the ghee. It should take about 30-60 minutes if you make two pounds. Once the bubbling slows down and quiets, the ghee is done. Strain it through cheesecloth into a mason jar to let it cool uncovered. Once it’s room temperature, you can put a lid on it. Be careful not to overcook the ghee. It should be a nice bright yellow, not brown.
A wonderful teacher of mine, Arjun Das, once told me to listen for the rain to come and then go away. Once that happens, the ghee is done. It’s such a beautiful thought while I’m making ghee and listening to the buttery rain.

I felt as though I was right there with you in your kitchen, imagining the smell of the butter-turn-ghee rain! Thank you for sharing your vast wealth of nutritional and healing knowledge with the world, you are truly gifted my dear friend!
thank you!!! i really love making ghee now that i know its sounds.
I enjoyed reading your article. I make ghee all the time, but the way you’ve described it would make it easy for novices to make it as well. And there was a lot of new info for me about the properties of ghee in terms of Ayurveda.
[…] tsp ghee or coconut […]
[…] 2 tbsp ghee […]
[…] the ghee, onion, and carrots for 2 minutes, then add the garlic, ginger, and jalapeno. Cook for another 3 […]
[…] 1 tsp ghee […]
[…] tbsp ghee or […]
[…] 1 tbsp ghee […]
[…] 1 tbsp ghee […]
[…] tsp ghee or coconut […]
[…] 1 tsp ghee […]
[…] 3 tbsp ghee […]
[…] 3 tbsp ghee […]
[…] tsp ghee or coconut […]
[…] tsp ghee or coconut […]
[…] tbsp ghee or […]